INK PAD REPLACEMENT
Replace your ink pad with easy to follow instructions below. Steps are the same for rectangle, square and round stamp models.
Step 1
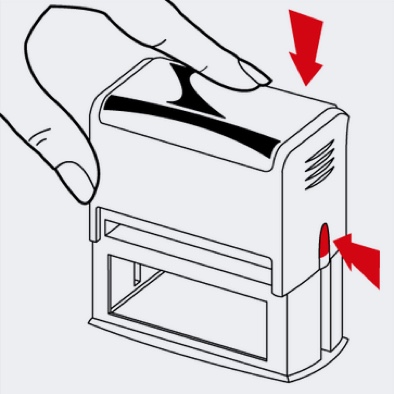
Press stamp downward while pressing side lock buttons until handle locks into the pad change position.
Step 2
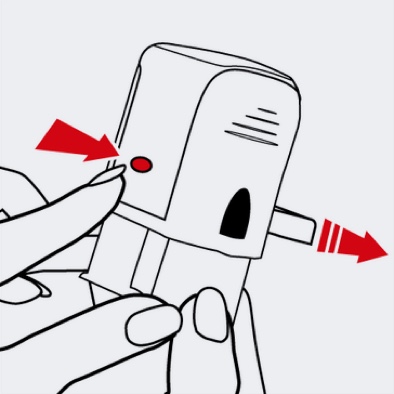
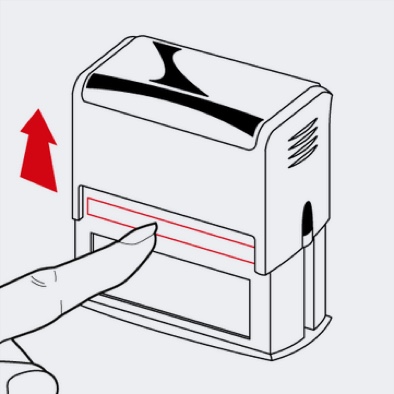
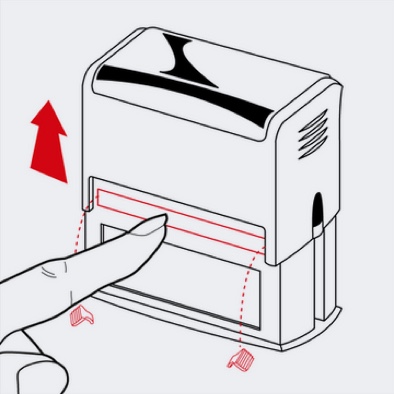
Press the front eject button to release the old ink pad.
Step 3
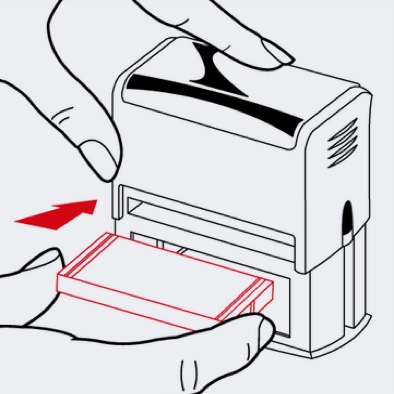
INK PAD WITHOUT GRIP TABS
With the foam side facing down, slide the new ink pad into the stamp.
INK PAD WITH GRIP TABS
With the foam side facing down, hold the new ink pad by the corner grip tabs and slide it into the stamp until the tabs hit the frame.
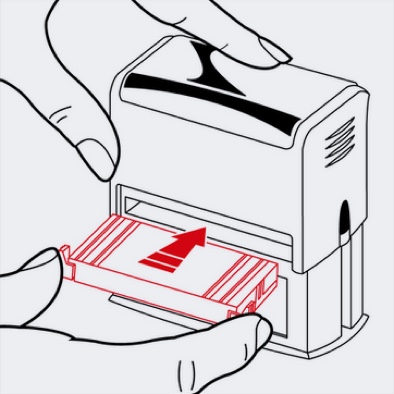
Step 4
INK PAD WITHOUT GRIP TABS
Push the new ink pad in until it clicks into place. Depress the handle to release the side lock buttons. Your stamp is now ready to use!
INK PAD WITH GRIP TABS
Push the new ink pad in until it the grip tabs pop off and the it clicks into place. Depress the handle to release the side lock buttons. Your stamp is now ready to use!